Services Provided list in Unifiedportal-emp.epfindia.gov.in website…..
EPFO has made it mandatory that in India all private sector employees must have an EPF account. EPF stands for Employee Provident Fund. Not only in the private sector, is the EPF online payment facility available in all the government sector banks as well. The unified portal of the EPFO is a very big step towards making the whole process of EPF payment and facilitation as easy as possible for both the employers as well as the employees. There are endless services provided on the unified portal to make the process easy for one and all.
If you have all, the process of registration is easy for you. Follow the below-defined steps to register yourself at the portal.
- Visit the page https://unifiedportal-emp.epfindia.gov.in/
- Agree to the terms and conditions by making a tick mark before that and then click on the Submit tab.
- Now fill on all the personal as well as organization details with all the precision. Remember, when you enter the PAN, you need to enter the PAN of the company only. You should not enter the PAN of the authorized signatory here.
- After entering the Mobile number, you will instantly get an OTP which you will need for the authentication. Enter the OTP to authenticate the registration and then click on the ‘Register’ tab.
- If all goes well, the employer gets an SMS which will consist of temporary UAN and password. The employer will need it to Login to the portal for the first time. After that, the employer can change them as per wish.
- Now visit the employer portal with the link https://unifiedportal-emp.epfindia.gov.in/ and Login with the temporary UAN and password. It will then ask you to change them. Change them as per your wish.
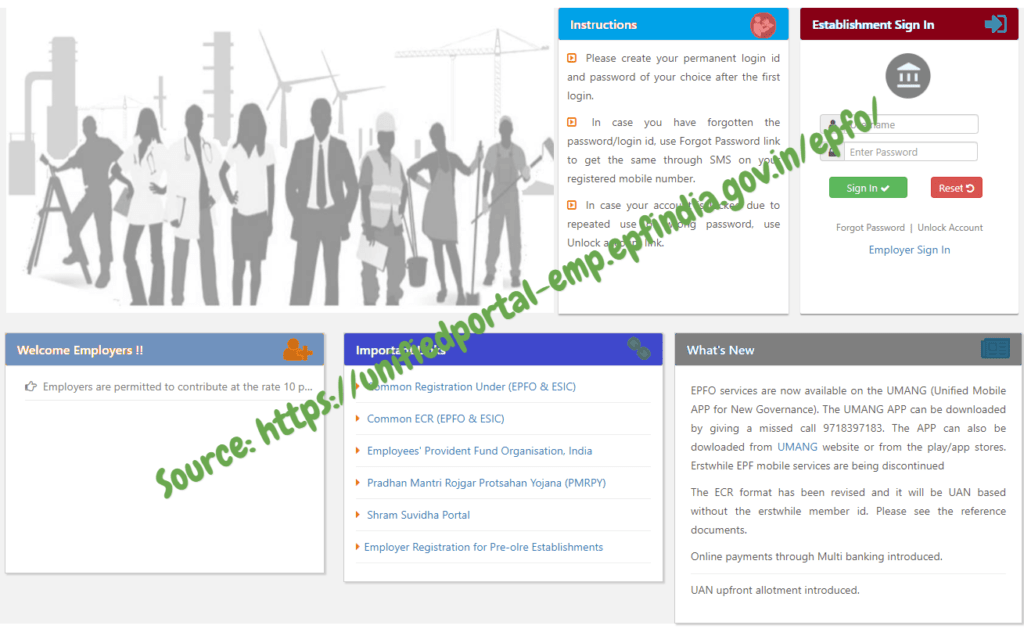
Now, remember, there are two types of Sign In (a) Establishment Sign In and (b) Employer Sign In. It is highly advisable to use the Employer Sign In for the company level and Establishment Sing-In for all the regular activities.
Now, you must be interested to know what an employer can do on this portal. Well, there are various services that an employer can enjoy at this portal. Some of them are:
- Create a UAN for a new Employee.
- Make registration of new employee.
- Link a new employee to the already existing UAN.
- Upload KYC of the employee
- Approve the EPF withdrawal
When you Login to the portal with the employer User ID and password, you will get to see six major tabs in which all the services are summarized very nicely. The 6 tabs are: (a) Home (b) Member (c) Establishment (d) Payments (e) Dashboard and (f) User. Let us discuss some of the major services provided to the employer on this portal and how to make use of them.
(A) Generating UAN for the Employee:
UAN can be generated by both the employer and the employee. Here, as we are talking about the services that can be utilized by the employee, let us discuss how UAN can be generated by the employer.
- After login on the https://unifiedportal-emp.epfindia.gov.in/. You will see the home page. There will be a tab highlighting ‘Member’. Click on that.
- In the drop-down menu, select the ‘Register –Individual’ option.
- Use the Form-11 filled by the employee to enter the details of the employee on the portal. This reduces any possibility of error.
- Now, get a copy of employees AADHAAR Card and fill in the details of the employee from there.
- After filling in all the details, click on the ‘Submit’ tab.
- Instantly you will see that the UAN of the employee has been generated. This makes an employee an EPF member.
Note: This UAN is used for the ECR submission. An employer can not generate the UAN of the employee unless he has the AADHAAR, PAN and Bank details of the Employee.
(B) Modifying the UAN details of the new employee:
If the new employee already has a UAN, the employer just needs to take the UAN from the employee and then use it on the New UAN portal of the employer. When the employer enters the detail of the UAN, there is an automatic generation of the employee detail. The employer just needs to use the option where he / she can change the employer details, mobile number etc. When the employer is changed, the new employee gets linked to the new employer automatically.
(C) Payment of EPF online:
Now let us directly talk about how to Pay EPF online. Just follow the below-listed steps to make the online payment of the EPF. Before starting to make the payment, just make sure that you have username and password handy to Login to the portal.
- For making the payment, you first need to login to the E-sewa portal of the EPFO. https://unifiedportal-emp.epfindia.gov.in/ is the official link of the EPFO.
- On the home page, make a login with the username and password.
- Now after Login, search or the ‘Payment’ option. In the drop-down list, click on the ‘Payment (ECR)’.
- On the new page, first of all, download the last month ECR. Make sure to download it in the Excel sheet form i.e. CSV format.
- Now in the excel sheet, fill in the details in the column carefully. After filling all the required columns, just save the file in the text form i.e. in the *.txt form.
- Next, you need to upload this file on the portal. After uploading, click on the ‘Proceed’ tab which is easily visible on the screen.
- It is now the time to generate the challan. Search for the ‘Generate Challan’ tab and click on it to generate the challan.
- If you will carefully look on the page, you will be able to find the TRRN. This is required for the ultimate payment of the EPF.
- Now download the Challan receipt and the Acknowledgement Slip.
- Now it will ask about the type of payment you need to make. Select the ‘Online Payment’ as the Payment Option.
- When you select this option, you will be asked to select the bank through which you want to make the online payment. When you pay the EPF money online, one gets the message of the debited amount on the RMN (Registered Mobile Number).
Note: It is highly advisable that you must keep the ECR and TRRN with you for any future use. It is better to keep a print out of the online payment receipt. When you make a payment, you must keep one thing in the mind. There are certain administrative charges that gets deducted while making the payment. Mostly 0.85% of the Total EPF Wages is deducted and for EDLI 0.01% is deducted.
Hiiii sir
Khasdar yaseen UAN number register activate karna h